Gluten Free Cannoli Recipe: An Amazing Ultimate Treat
Gluten Free Cannoli Recipe is a delightful way to indulge your sweet tooth without compromising your dietary needs. This classic Italian dessert, known for its crispy shell and creamy filling, can now be enjoyed by those who need to avoid gluten. If you’ve ever found yourself longing for the delicious taste of cannoli, this recipe will bring that wonderful experience right into your kitchen. The flavors bounce around your mouth, delivering a rich and satisfying taste that feels indulgent while still being gluten-free.
The wonderful combination of flavors in a gluten-free cannoli brings joy to those who savor it. With ease, you can craft these delectable treats that not only look beautiful but also transport you to the vibrant streets of Italy with each bite. Whether it's a festive gathering, a family dinner, or just a sweet personal treat, everyone will be amazed by your culinary skills. Dive into this guide to explore the incredible world of gluten-free cannoli, and learn how to recreate these Italian treasures effortlessly.
Why You’ll Love This Recipe
This gluten-free cannoli recipe caters to various tastes and preferences, making it a favorite for many. Here are just a few reasons you’ll adore this indulgent treat:
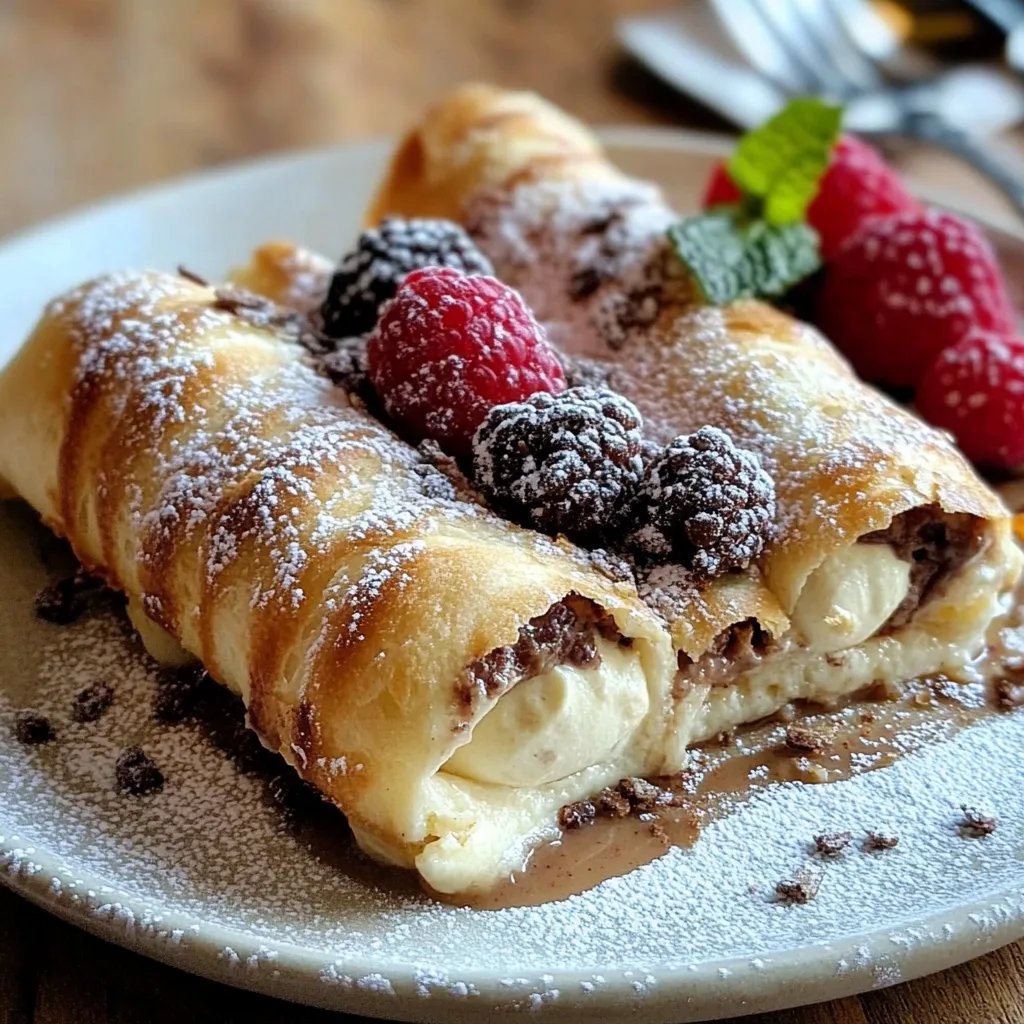
- Crispy Shell – The crunchy exterior provides a lovely contrast to the smooth filling.
- Rich Filling – The creamy and sweet ricotta filling blends perfectly to create a heavenly experience.
- Easy to Make – The straightforward instructions ensure that both novice and expert cooks can enjoy this dessert.
- Versatile Recipe – Customize the filling with chocolate chips or fruits for an exciting twist!
- Perfect for Any Occasion – Serve these at parties, holidays, or even as a delightful weeknight dessert.
- Gluten-Free Delight – Everyone can enjoy this treat, even those with gluten sensitivities.
With so many appealing factors, this gluten-free cannoli recipe is sure to become a beloved staple in your dessert repertoire!
Preparation and Cooking Time
To make your gluten-free cannoli, you can expect the total prep and cooking time to be approximately 1 hour and 30 minutes. Here’s a breakdown for your convenience:
- Preparation Time: 30 minutes
- Cooking Time: 30 minutes
- Cooling Time: 30 minutes
These estimates may vary depending on your skill level and kitchen equipment, but this gives you a solid framework to plan your baking session.
Ingredients
- For the Cannoli Shells:
- 1 cup gluten-free all-purpose flour
- 1 tablespoon sugar
- 1/4 teaspoon salt
- 1 tablespoon unsweetened cocoa powder
- 1/2 teaspoon cinnamon
- 2 tablespoons unsalted butter, melted
- 1/4 cup white wine (or vinegar)
- For the Filling:
- 1 1/2 cups ricotta cheese
- 1/2 cup powdered sugar
- 1 teaspoon vanilla extract
- 1/2 cup mini chocolate chips
- Zest of 1 orange (optional)
- For Garnish:
- Additional powdered sugar
- Chopped pistachios or chocolate shavings (optional)
Step-by-Step Instructions
Creating gluten-free cannoli is a fun and rewarding experience. Follow these simple steps for delicious results:
- Prepare the Shell Dough: In a mixing bowl, combine gluten-free flour, sugar, salt, cocoa powder, and cinnamon. Add melted butter and white wine, mixing until a smooth dough forms.
- Chill the Dough: Wrap the dough in plastic wrap and refrigerate for about 30 minutes.
- Roll Out the Dough: On a lightly floured surface (using gluten-free flour), roll out the dough to a thin sheet, around 1/8-inch thick.
- Cut and Shape the Shells: Using a round cutter (approximately 4 inches in diameter), cut out circles. Wrap each circle around a cannoli form, sealing the edges with a bit of water.
- Fry the Shells: In a deep fryer or pot, heat oil to 350°F (175°C). Fry the cannoli shells until golden and crispy, about 2-3 minutes per side. Remove and drain on paper towels.
- Make the Filling: In a bowl, combine ricotta cheese, powdered sugar, vanilla extract, chocolate chips, and orange zest (if using). Mix until smooth and well incorporated.
- Fill the Cannoli: Once the shells have cooled completely, use a pastry bag to pipe the filling into each shell.
- Garnish: Dust the filled cannoli with powdered sugar and sprinkle with chopped pistachios or chocolate shavings, if desired.
- Chill: Let the filled cannoli chill in the refrigerator for about 30 minutes before serving for the best flavor and texture.
These steps will guide you to create an amazing batch of gluten-free cannoli that will impress your family and friends!
How to Serve
Serving gluten-free cannoli can enhance the experience significantly. Here are a few tips to elevate your presentation:
- Presentation: Place the filled cannoli upright on a decorative platter. This shows off their beautiful shapes and garnishes.
- Accompaniments: Consider serving alongside a scoop of gelato or fresh berries for a refreshing contrast.
- Serving Size: Offer them as individual servings but encourage guests to take seconds!
- Beverage Pairing: Cannoli pairs beautifully with coffee, dessert wine, or even a sweet herbal tea, adding to the indulgent experience.
With these thoughtful serving tips, you'll create not just a dessert but an enchanting experience for everyone to enjoy!
Additional Tips
- Use Quality Ingredients: For the best flavor, always select high-quality ricotta cheese and fresh ingredients. This will enhance the taste of your cannoli.
- Chill the Filling: For a creamy consistency, chill the filling before piping it into the shells. This helps maintain the cannoli's structure.
- Dust with Cocoa or Cinnamon: For a unique twist, sprinkle cocoa powder or cinnamon on top along with the powdered sugar for added flavor.
- Serve Fresh: Cannoli are best enjoyed fresh. Try to fill them just before serving to preserve the crispiness of the shell.
- Experiment with Flavors: Don't hesitate to experiment with your filling. Adding various extracts or flavored liquors can offer a delightful twist.
Recipe Variation
Feel free to get creative with your gluten-free cannoli! Here are a few fun variations to try:
- Chocolate Cannoli Shells: Mix cocoa powder into the shell dough for a chocolate flavor.
- Fruit-Filled Cannoli: Instead of just chocolate chips, add diced fresh fruit such as strawberries or mango for an exciting fruity twist.
- Spiced Filling: Incorporate spices like cardamom or nutmeg into the filling for a warm, aromatic flavor.
- Nutty Delight: Add crushed nuts such as pistachios or hazelnuts to the filling for added texture and flavor.
Freezing and Storage
- Storage: Keep the cannoli in an airtight container in the refrigerator. They are best consumed within 2-3 days for the freshest taste.
- Freezing: You can freeze the shells separately from the filling. Store the shells in a freezer-safe container for up to 1 month. The filling can be frozen for up to 2 months. Just be sure to thaw and remix before filling the shells.
Special Equipment
To create perfect gluten-free cannoli, the following equipment is essential:
- Cannoli Forms: These cylindrical molds help you shape the cannoli shells. You can find them online or in kitchen supply stores.
- Rolling Pin: For rolling out the dough to the appropriate thickness.
- Deep Fryer or Heavy Pot: For frying the shells evenly and to the desired crispiness.
- Pastry Bag: Ideal for piping the filling into the shells without making a mess.
- Mixing Bowls: To combine ingredients easily before making the shells and filling.
Frequently Asked Questions
What can I substitute for ricotta cheese?
You can use mascarpone cheese or a dairy-free alternative such as almond or soy cream cheese for a different flavor.
Can I bake the shells instead of frying them?
Yes, you can bake the shells at 375°F (190°C) for about 15-20 minutes. Brush them with a little oil beforehand for a crispy texture.
What type of gluten-free flour should I use?
A good quality gluten-free all-purpose flour blend works best. Make sure it includes xanthan gum for better dough elasticity.
How do I ensure my filling is smooth?
Whipping the ricotta cheese beforehand can help create a smoother texture. Be sure to mix it well with other ingredients.
Can I make the shells ahead of time?
Yes, you can prepare the shells in advance, but be sure to store them in an airtight container to maintain their crispiness until you fill them.
Conclusion
This Gluten Free Cannoli Recipe offers a wonderful way to enjoy a timeless Italian treat without the gluten. Whether you're sharing them at a family gathering or savoring them on a quiet evening, these cannoli will elevate your dessert experience. With the crispiness of the shells and the creamy filling, they are sure to impress. Try this recipe today, and discover how easy and delightful gluten-free indulgence can be!